The coast calls to photographers like a siren’s song. The blend of land and sea offers endless chances to make awesome coastal photography images. The shifting light, the crashing waves, and the rugged shorelines make for scenes that are both challenging and rewarding to capture. As landscape photography gains fans, coastal views remain special. They’re a mix of nature’s power and delicate beauty. Get ready to discover how to take stunning photos of coastal locations. Understanding light, mastering composition, and using smart techniques are keys to success.
Planning Your Coastal Photography Trip
Before you even pick up your camera, planning is key. A little prep will help you get the shots you are dreaming of. It also maximizes your time on location.
Researching Locations and Tides
Knowing where to go and when is important. Tide charts show when the tide will be high or low. Apps like PhotoPills and TPE help plan shots with the sun and moon. These let you see how the light will hit at different times. Websites with photography location guides can also show great spots that may not be well known. Tidal changes really change the look of a scene, which provides a dynamic element. Low tide may reveal hidden rock pools. High tide can crash against cliffs.
Checking Weather Conditions and Optimal Times
Weather changes the mood of a coastal picture. A sunny day can make colors pop. An overcast day can add drama and softness. The golden hour (sunrise and sunset) gives warm light. The blue hour (just before sunrise or after sunset) adds a cool tone. Keep an eye on sunrise and sunset times. Also, look at cloud cover forecasts. A partly cloudy day might offer the best light.
Packing Essential Gear for Coastal Shoots
The right gear is important for capturing coastal photos. Here’s a list to help you:
- Camera: A DSLR or mirrorless camera gives you the most control.
- Lenses: Wide-angle (16-35mm) captures wide scenes. Telephoto (70-200mm or longer) zooms in on details.
- Tripod: A sturdy tripod keeps your camera steady, especially for long exposures.
- Filters: ND filters reduce light for long exposures. Polarizing filters cut glare and boost colors.
- Lens cloths: Salt spray can quickly cover your lens.
- Rain gear: Protect your camera and yourself from the elements.
- Extra batteries: Cold weather drains batteries faster.

Mastering Coastal Photography Composition
Good composition is how you lead the viewer through your photo. It keeps the eye engaged. There are some great ways to do this.
Using Leading Lines and the Rule of Thirds
Leading lines guide the eye into the picture. Waves, rocks, or paths can act as leading lines. The rule of thirds means dividing your frame into nine equal parts. Put key parts of your scene along these lines or at the points where they meet. This usually makes a more pleasing image. For instance, place the horizon on the top or bottom line. It depends on what you want to highlight, the sky or foreground.
Incorporating Foreground Elements for Depth
Foreground items add depth and interest. Rocks, shells, driftwood, or seaweed all work great. These give the viewer something to connect with. Make sure your foreground item works with the rest of the scene. It should add, not distract.
Capturing the Motion of Water: Long Exposure Techniques
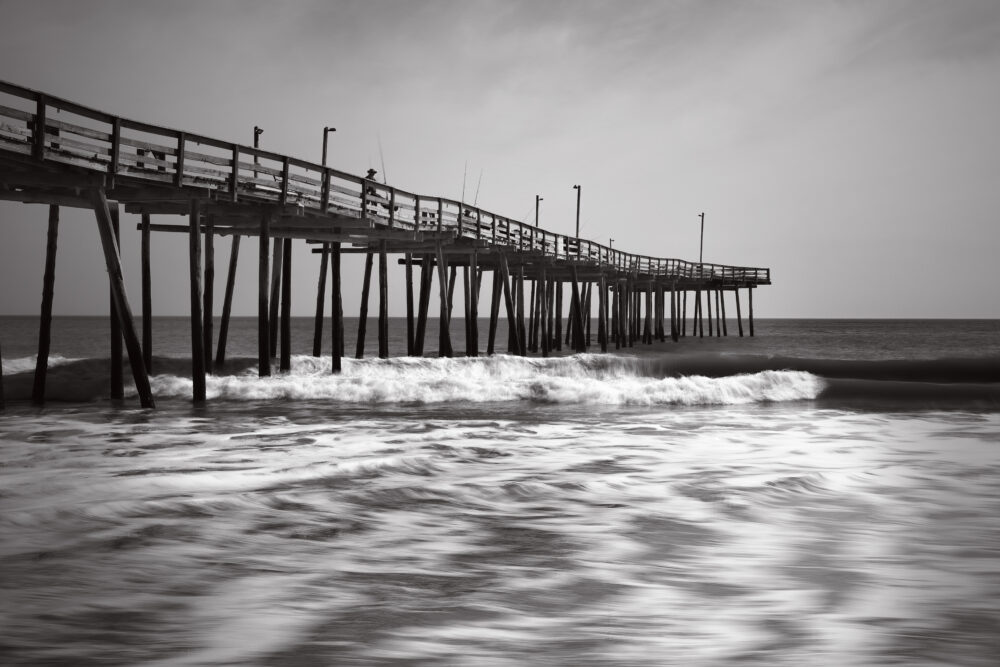
Long exposure can turn water into a silky smooth blur. It makes clouds look dreamy. You will need a tripod and ND filters. Set your camera to a low ISO (100 or 200). Choose a narrow aperture (f/11 or higher). This increases your depth of field. Then, use the ND filter to let you use a longer shutter speed. Try speeds from 1 second to several minutes. The longer the shutter is open, the smoother the water will look.

Camera Settings for Coastal Photography
Knowing the right camera settings makes a big difference. It ensures your photos are sharp and well-exposed. Adjusting aperture, ISO, and shutter speed is important.
Achieving Sharp Focus with Aperture and Depth of Field
Aperture controls how much of your picture is in focus. This is called depth of field. For wide coastal scenes, use a smaller aperture (f/8 to f/16). This makes sure everything from the foreground to the background is sharp. For seascapes, you might want a wider aperture (f/2.8 to f/5.6). This can blur the background and focus on a specific part of the scene.
Balancing Exposure: ISO, Shutter Speed, and Aperture Relationship
ISO measures your camera’s sensitivity to light. Keep it low (ISO 100-400) for the best quality. Shutter speed controls how long the camera’s sensor is exposed to light. Aperture controls the size of the lens opening. These three things work together. If the light is low, you might need to increase the ISO or widen the aperture. You could also slow down the shutter speed. It depends on the effect you want.
Using Filters to Enhance Colors and Reduce Glare
Polarizing filters cut glare from water and wet surfaces. This boosts colors and contrast. ND filters reduce the amount of light entering the lens. This lets you use longer shutter speeds in bright light. This is great for smooth water effects.
Capturing Specific Coastal Subjects
The coast has different things to photograph. Rocky cliffs, sandy beaches, and wildlife all need different methods.
Photographing Rocky Coastlines
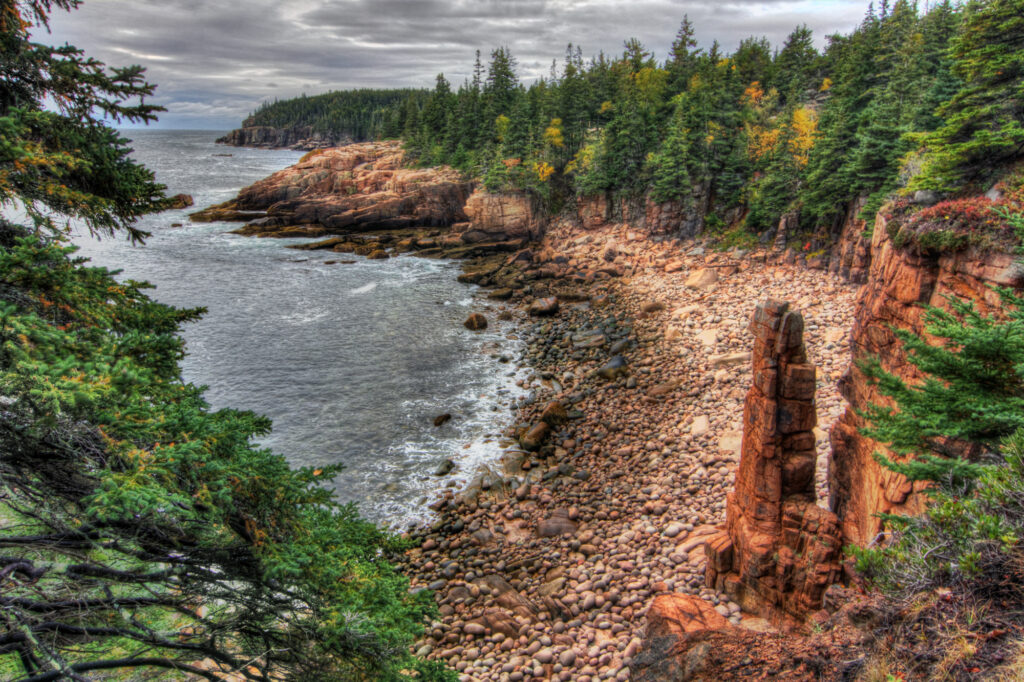
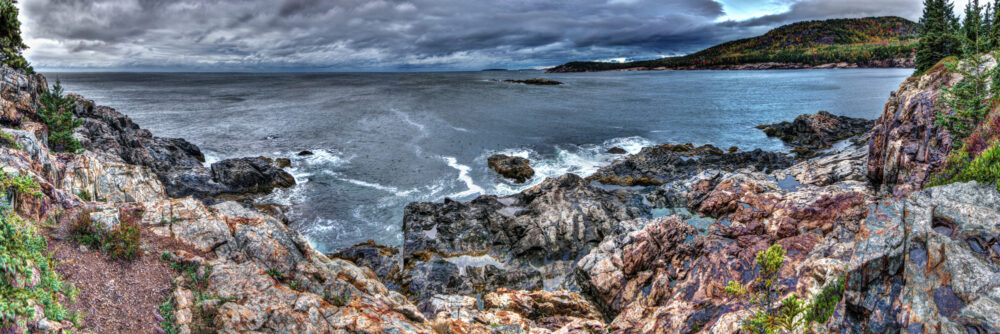
Look for interesting rock shapes, textures, and patterns. Early morning and late afternoon light bring out details. Side light is ideal. It creates shadows and shows depth. Use a wide-angle lens to capture the scope of the scene. Or use a telephoto to zoom in on details.
Photographing Sandy Beaches
Capture the texture of the sand. Look for reflections of light and clouds in wet sand. Wide-angle lenses work well here. They show the vastness of the beach. Try different angles to find interesting views. Get low to the ground to highlight the sand.

Photographing Coastal Wildlife
Use a telephoto lens to get close to seabirds, seals, and other animals. Be patient. Wait for the right moment. Respect the wildlife. Do not disturb their habitat. Keep a safe distance.
Post-Processing Coastal Photographs
Post-processing helps you to refine your images. It brings out the best in your coastal photos. Software like Adobe Lightroom or Capture One can help.
Basic Adjustments: Exposure, Contrast, and White Balance
Adjust exposure to brighten or darken the picture. Increase contrast to add punch. Adjust white balance to correct color casts. Make sure the colors look natural.
Enhancing Colours and Details
Boost the colors to make the scene vibrant. Sharpen details to make the photo crisp. Be careful not to overdo it. Too much sharpening can make the image look unnatural. Or go the other direction and make the image a powerful black and white.

Removing Distractions and Correcting Imperfections
Remove unwanted things like power lines or tourists. Fix lens issues like distortion or vignetting. These changes make the image cleaner and more professional.
Conclusion
Coastal photography gives endless ways to capture the beauty of the sea and shore. Planning, composition, camera settings, and post-processing all matter. Practice and test to find your own style. Get out there, explore, and capture the stunning beauty of the coast.

