Ever snapped a photo of an amazing view, only to find it looked fuzzy? I know I have! The key to awesome landscape pictures is nailing the focus. It’s what makes the scene pop, showing all the tiny details. In this article, we’ll explore how to get super sharp landscape photos, from understanding your camera to using cool tricks. Ready to take better photos? Let’s get started!
Understanding Depth of Field for Landscape Photography
Depth of field is super important in taking landscape photos. But what exactly is it? Why is it important to your photography? Let’s find out.
What is Depth of Field?
Depth of field is how much of your photo is in focus. A shallow depth of field means only a small part is sharp, blurring everything else. Think portraits where the person is sharp but the background is soft. A deep depth of field means almost everything, from close up to far away, is sharp. This is what we usually want in landscape shots. It makes the foreground, middle ground, and background sharp.

Here you can see the train crossing the Ribblehead viaduct. A deep depth of field means acceptable sharpness from front to back of the image.
Factors Affecting Depth of Field
Several things change how much depth of field you get. Here’s the main ones:
- Aperture: This is the size of the opening in your lens. It’s measured in f-stops (like f/8, f/16). A smaller f-stop (like f/2.8) gives a shallow depth of field. A larger f-stop (like f/16) gives a deep one. For landscapes, most photographers use f/8 to f/16. This helps keep everything in focus.
- Focal Length: This is how much your lens zooms. Wide-angle lenses (like 16mm) tend to have a larger depth of field. Telephoto lenses (like 200mm) make it shallower. If you want more in focus, use a wider lens.
- Camera-to-Subject Distance: How close you are to what you’re photographing also matters. The further away you are, the bigger your depth of field. This is why distant landscapes are easier to get fully sharp.
Mastering Focus Techniques
Now that we know about depth of field, let’s talk ways to focus. There’s a few different ways to focus when taking landscape photos. Let’s get into them now.
Manual Focus vs. Autofocus
Cameras can focus for you (autofocus) or you can do it yourself (manual focus). Autofocus is fast, but it can mess up. It might focus on the wrong thing, especially in complex scenes. Manual focus gives you more control.
For super sharp landscape photos, manual focus is the way. Use your camera’s live view feature. Zoom in on your subject. Then, carefully turn the focus ring until it looks as sharp as possible. Some cameras have focus peaking. This highlights the sharpest areas in the live view, which makes focusing even easier.
Using Hyperfocal Distance
Hyperfocal distance is a cool trick. It’s the closest distance at which your lens can focus while keeping objects at infinity acceptably sharp. If you focus at the hyperfocal distance, everything from half that distance to infinity will be reasonably sharp.
- How to Calculate: There are apps and charts that help you figure out the hyperfocal distance for your lens and aperture. PhotoPills is just one app that has a hyperfocal distance calculator.
- Practical Application: Imagine you’re shooting a mountain range with rocks in the foreground. Find the hyperfocal distance for your aperture. Focus on a point that distance away. The rocks and the mountains should both be sharp.
Hyperfocal Cheat
A hyperfocal cheat – using live view makes this easier. Focus about a third of the way into the frame. Take the shot, review the image by zooming in to check sharpness. If the image is sharp top to bottom/front to back, well done. You’ve nailed it. If the foreground is soft then refocus to an object a little close than the previous focal point. If the background is too soft the focus a little further away. Rinse and repeat until the image sharpness is to your liking. No need for apps or calculations….or guessing where 72.3 feet or 104.6 metres falls in front of you!
Focus Stacking Techniques
Sometimes, even with a small aperture, you can’t get everything sharp. This is where focus stacking comes in. It’s a more advanced way to get extreme depth of field.
- When to Use: Use focus stacking when you’re shooting something close up, like a flower with a mountain behind it. Or when you need everything from a few inches away to miles away to be super sharp.
- Software and Workflow: Take several photos. Each with a different part in focus. Then, use software like Adobe Photoshop or Helicon Focus. These programs blend the sharp parts of each photo together into one super-sharp image.
Read: Mastering Leading Lines And Vanishing Points
Compositional Focus: Leading the Viewer’s Eye
Focus isn’t just about sharpness. It’s also about where you want people to look in your photo. You want them to look at what you want them to look at.
Identifying Key Points of Interest
Think about what’s important in your scene. A cool tree? A mountain peak? A weird rock? Make that your main subject. Focus on it to make it stand out.
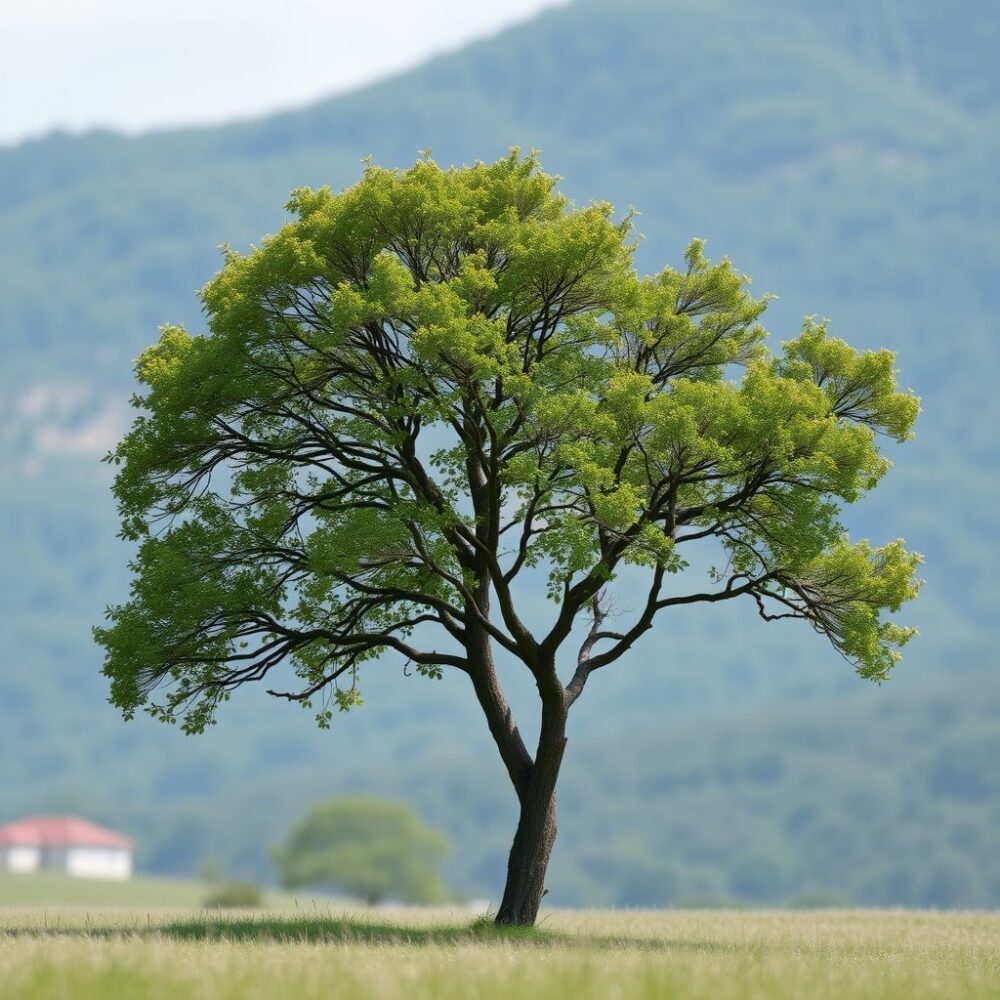
- Examples: Focus on a lonely tree in a field. Or make sure the tip of a mountain is crystal clear. Is there a cool rock in the foreground? Focus on that.

Using Selective Focus to Create Depth
Blurring part of your photo can make the sharp parts stand out. This also creates a sense of depth. A way to create photos that have a unique look.
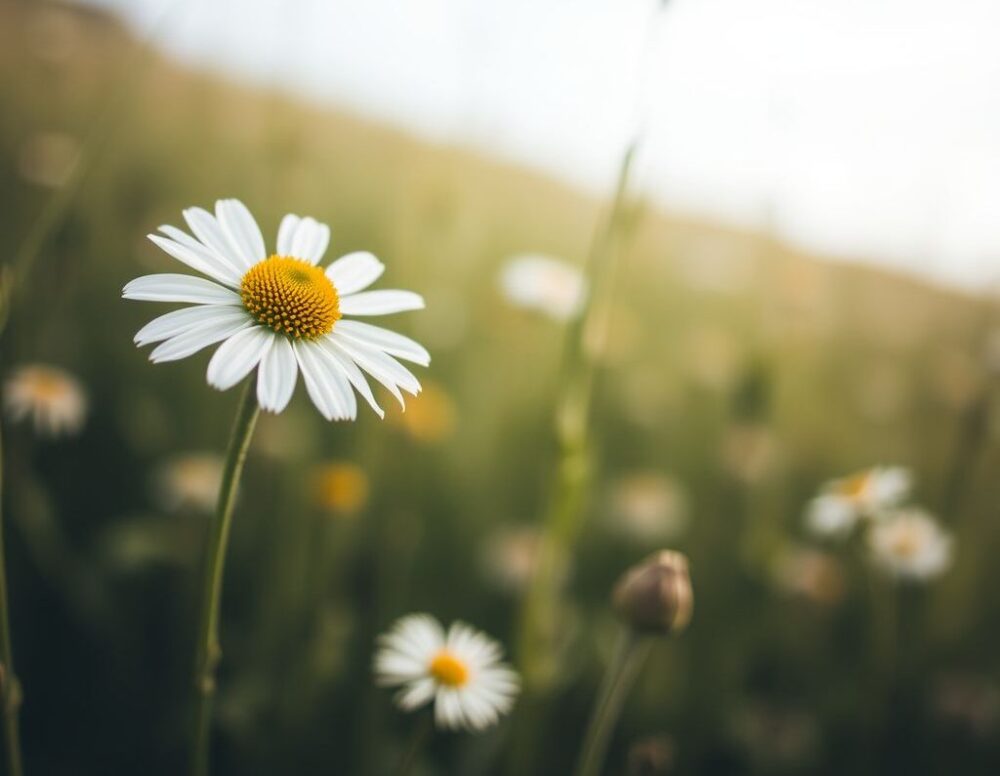
- Examples: You could blur the foreground to make a mountain range look further away. Or blur the background to make a flower in a field pop.
Environmental Considerations
Nature can be tricky. Wind and haze can mess with your focus. Let’s explore some solutions for common issues.
Dealing with Wind
Wind can blur leaves and grass. This is especially true with long exposures.
- Tips: Use a faster shutter speed to freeze the motion. Wait for the wind to die down. Or, if your lens has image stabilization, turn it on.
Atmospheric Conditions: Haze and Heat Haze
Haze and heat haze make distant things look fuzzy. It can also make them lose detail.
- Solutions: Shoot early in the morning or late in the evening. The air is often clearer then. You can also use a dehaze filter in photo editing software to cut through the haze.
Conclusion
Getting sharp landscape photos takes practice. Understanding depth of field, using the right focus techniques, thinking about your composition, and dealing with the environment are all important. So get out there, try these tips, and take some amazing photos!

