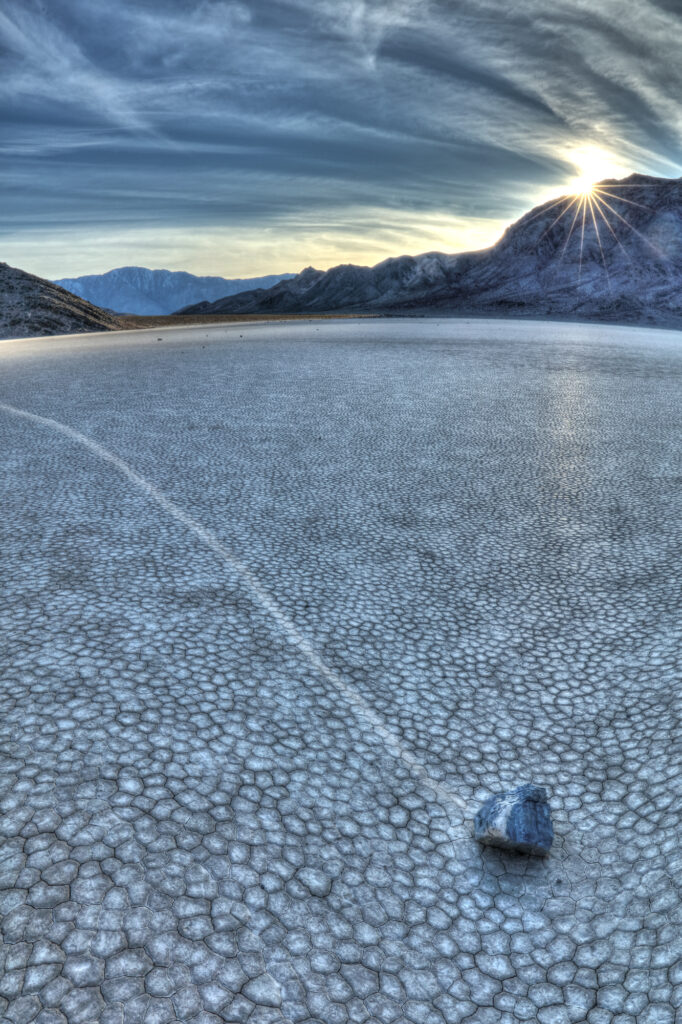
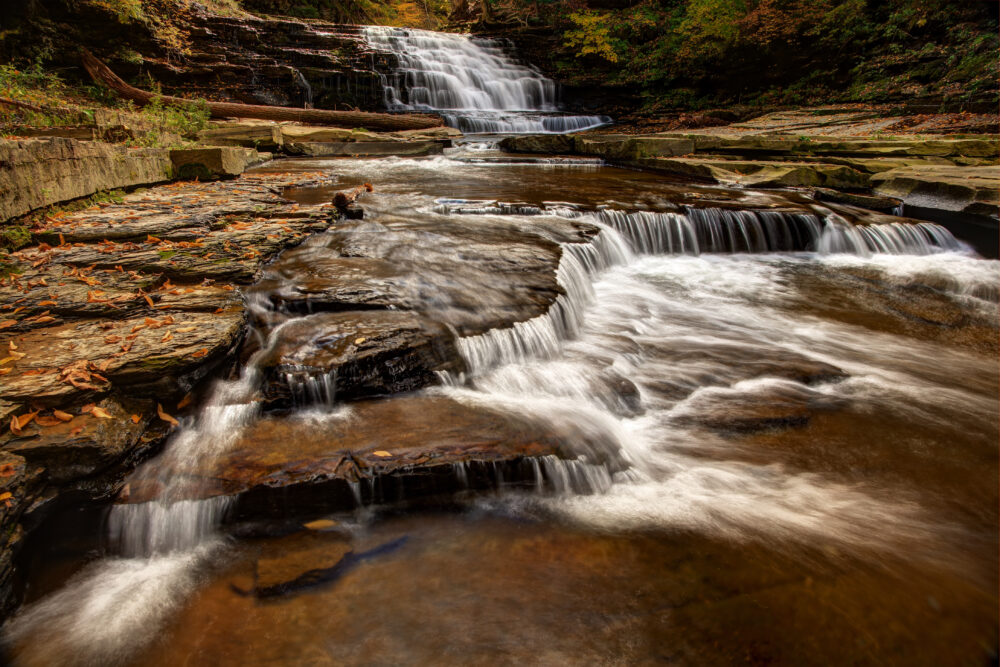
Imagine a breathtaking vista. A snow-capped mountain pierces the sky. The scene sprawls out before you. But something is missing, isn’t it? Too often, landscape photos lack that certain something. That something is often foreground interest.
Many landscape photos fall flat. They lack depth or a focal point. They don’t grab the viewer. Using foreground interest fixes this. It adds scale and tells a story.
This article will show you how. We will cover key techniques. We will also discuss compositional elements. Ready to take better landscape photos? Let’s get started.
Understanding Foreground Interest in Landscape Photography
Foreground interest is vital. It creates great landscape images. It makes your photos pop. But what is it exactly?
What is Foreground Interest?

Foreground interest refers to elements. These elements are near the camera. They’re in the closest part of the scene. Think rocks, flowers, or a sandy beach.
The middle ground sits further back. The background is the farthest part. Foreground elements are close. They grab the viewer’s attention first.
Why Foreground Interest Matters
Foreground elements add depth. They lead the eye into the scene. They also provide a sense of scale. That tiny flower against a huge mountain? It shows just how grand that mountain truly is.
It enhances the narrative. Think of a weathered fence. It hints at history and tells a story. It adds emotion to the photo.
Examples of Effective Foreground Elements
So, what can you use as foreground interest? Rocks are great. Flowers add color. Logs bring texture. Reflections in water add interest, too. Even fences or interesting plants work well.
Ansel Adams used foreground rocks a lot. He created depth in his black and white photos. Galen Rowell often used colorful flowers. He framed his mountain scenes. Look at their work. See how they used the foreground.
Key Compositional Techniques for Foreground Interest
Now, let’s get to the good stuff. Here are some key techniques. They will help you compose shots effectively.
The Rule of Thirds with a Foreground Twist
The rule of thirds is simple. Divide your image into thirds. Both horizontally and vertically. Place key elements where lines intersect.
Put your foreground element on one of those points. This creates a balanced and interesting shot. The viewer’s eye is drawn to it.
Leading Lines from the Foreground
Leading lines guide the viewer’s eye. They start in the foreground. They lead into the distance. It’s a natural way to move someone’s gaze.
A winding path works great. So does a river. Or even a row of rocks. Use them to draw the viewer into the scene.

Framing with Foreground Elements
Use foreground elements to frame the scene. This creates depth. It draws attention to your main subject.
Shoot through an archway of trees. Use foliage to frame a distant mountain range. It adds a sense of depth. It isolates your subject, too.
Finding and Selecting the Right Foreground
Finding the right foreground takes practice. It also takes a bit of planning. Don’t just snap the first thing you see.
Scouting and Planning
Scouting is key. Visit your location beforehand. Look for potential foreground elements. Visualize your shot.
Use tools like PhotoPills. Or use Google Earth to plan shots. Knowing the area helps a lot.
Considering Texture, Colour, and Shape
Texture adds depth. Colour adds interest. Shape creates visual appeal. Think about these things.
Choose elements that fit the scene. Do they add to the story? Do they complement the background? A rough rock in a smooth, sandy beach creates contrast.
Adapting to Different Landscapes
Mountains offer rocks and wildflowers. Coastlines have sand, shells, and tide pools. Deserts feature cacti and unique rock formations. Forests provide logs, leaves, and streams.
Each landscape is different. Look for what’s unique. Find elements that tell its story. Adapt your approach for each environment.
Camera Settings and Techniques for Sharp Foregrounds
Sharpness is key. You want your foreground to be crisp. Here’s how to achieve it.
Aperture and Depth of Field
Aperture controls depth of field. Depth of field is the area in focus. A narrow aperture (f/8 to f/16) gives you more depth of field. This keeps both foreground and background sharp.
Experiment with different apertures. See what works best for your scene.
Focus Stacking Techniques
Focus stacking combines multiple images. Each is focused on a different part of the scene. This ensures sharpness from front to back.
Take several shots. Adjust the focus each time. Start with the foreground. Then move towards the background. Use software like Photoshop to combine them.
Using Filters

Polarizing filters reduce glare. They also enhance color. Graduated neutral density filters balance exposure.
Polarizing filters make skies bluer. They also reduce reflections. Graduated ND filters darken bright skies. This lets you capture more detail.
Post-Processing for Enhanced Foreground Interest
Post-processing enhances your image. It also brings out the best in your foreground. Don’t overdo it, though!
Enhancing Detail and Texture
Sharpening brings out details. Clarity and texture sliders add pop. Adjust these sliders carefully. Too much sharpening looks bad. Subtlety is key.
Colour Grading and Adjustments
Adjust colours in the foreground. This creates a visually appealing image. Colour grading sets a mood.
Warm colours feel inviting. Cool colours feel calming. Experiment with different looks. See what enhances your photo.
Conclusion
Using foreground interest changes everything.
- It adds depth and scale.
- It tells a story.
- It makes your landscape photos stand out.
Remember the rule of thirds. Use leading lines. Frame your scene. These techniques make a big difference.
Now, go out and shoot. Experiment. Practice. Create stunning landscape photos. Show the world your vision. What are you waiting for?

